Ordering kitchen cabinets without accurate measurements is one of the most expensive mistakes a homeowner can make in a renovation. Cabinets that are too wide create gaps. Cabinets that are too tall hit the ceiling. Cabinets ordered without accounting for windows, doors, or appliances arrive and do not fit the space they were purchased for. The resulting delays, return freight costs, and reorder timelines can add weeks to a project and hundreds to thousands of dollars to a budget that was already stretched.
The good news is that measuring a kitchen for cabinets is not complicated. It requires patience, a good tape measure, a notepad, and a systematic approach to capturing every dimension that affects the cabinet layout before a single product is selected or ordered.
This guide walks through the complete measurement process from start to finish so you arrive at your cabinet order with confidence rather than uncertainty.
What You Need Before You Start
Gather these tools before taking a single measurement. Working with the right equipment from the beginning prevents the rounding errors and missed dimensions that create problems downstream.
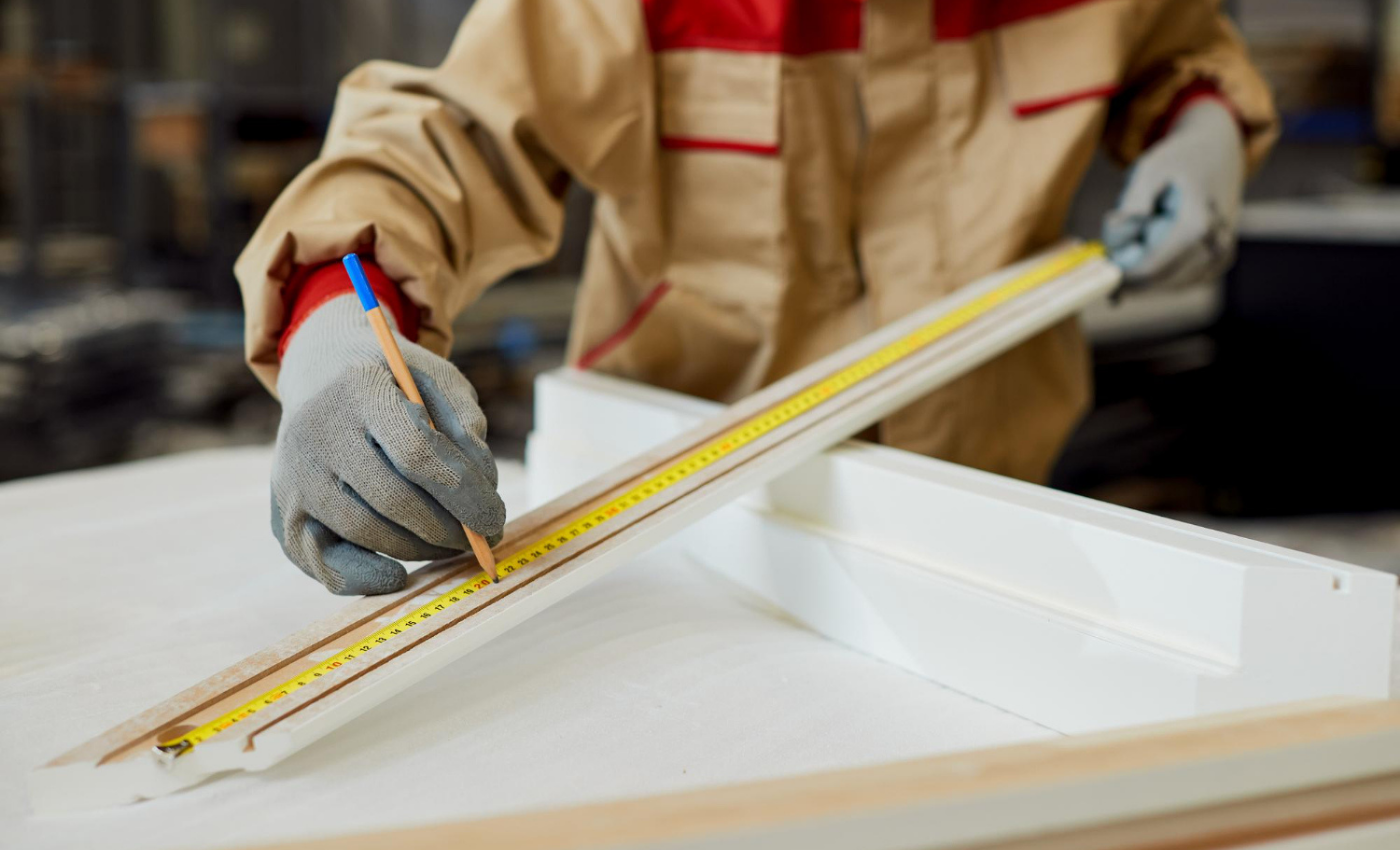
A quality steel tape measure is essential. Fabric or plastic tape measures stretch and flex, which introduces small inaccuracies that compound across a full kitchen measurement. A twenty-five foot steel tape measure handles every dimension in a standard kitchen without repositioning.
A sharp pencil and a notepad dedicated exclusively to your kitchen measurements. Do not rely on memory or on photographs alone. Write every dimension down immediately after measuring it and label every measurement clearly so it makes sense when you review it later.
A level for confirming whether walls, floors, and ceilings are genuinely square and plumb. Many kitchens have floors that are not perfectly level or walls that are not perfectly plumb, and cabinets need to be ordered accounting for the actual conditions of the space rather than assuming ideal geometry.
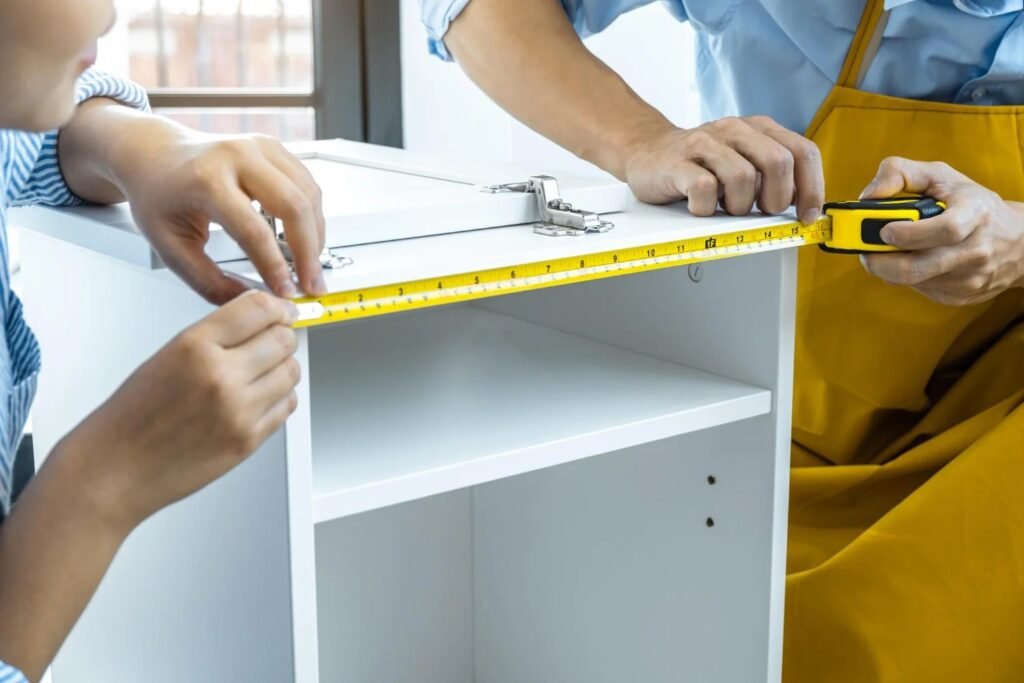
A helper. Measuring a kitchen alone is possible but significantly slower and marginally less accurate than working with a second person who holds one end of the tape measure at a fixed point while the first person extends the tape to the target dimension.
Step One: Sketch Your Kitchen Layout
Before taking any measurements, draw a rough sketch of your kitchen from above, as if looking down at it from the ceiling. The sketch does not need to be to scale or artistically accomplished. It needs to show the shape of the room, the position of every wall, every doorway, every window, and the location of every fixed element including the range, refrigerator, dishwasher, and sink.
This sketch becomes the reference document onto which every measurement is recorded. Having a visual map of the space prevents the confusion of trying to reconstruct later which measurement corresponds to which wall or which dimension belongs to which opening.
Draw each wall as a separate line. Mark doorways and windows on the relevant walls. Label each wall with a letter or number so your measurements can be recorded clearly without ambiguity.
Step Two: Measure Each Wall
Measure every wall in the kitchen from corner to corner at counter height, which is approximately thirty-six inches from the floor. Walls are often not perfectly straight, and measuring at counter height gives you the dimension most relevant to your base cabinet layout.
Record the full wall length from corner to corner. Then record the dimensions of every interruption on that wall separately. If a wall has a window, record the distance from the left corner to the left edge of the window frame, the width of the window frame, and the distance from the right edge of the window frame to the right corner. These three dimensions should add up to the full wall length. If they do not, remeasure.
Do the same for doorways. Record the distance from the corner to the door frame edge, the width of the door frame, and the remaining wall length beyond the frame.
Measure every wall in the kitchen using this same approach. Record the full wall length and every interruption separately, always confirming that the component measurements add up to the total before moving on.
Step Three: Measure Ceiling Height and Soffit Dimensions
Ceiling height determines which wall cabinet sizes are appropriate for your kitchen. Standard wall cabinets are available in thirty, thirty-six, and forty-two inch heights. The right choice depends on the distance between the top of the countertop and the ceiling.
Measure ceiling height from the floor at multiple points around the kitchen. Ceilings that are not level, which is more common than most homeowners expect, require adjustment in the cabinet sizing to ensure a consistent installation height across the full run.
If your kitchen has a soffit, which is the boxed-in area above where wall cabinets will be installed, measure its height from the floor to the bottom of the soffit and its depth from the wall face to the front face of the soffit. These dimensions determine whether standard wall cabinets fit within the soffit opening or whether the soffit needs to be modified or filled in.
Step Four: Measure Appliance Locations and Dimensions
Every fixed appliance in the kitchen affects the cabinet layout. Measure the width, depth, and height of each appliance and record the distance from the nearest wall corner to each side of each appliance opening.
The refrigerator requires a minimum of one inch of clearance on each side and above for ventilation and door swing. Record the rough-in opening width and confirm it accommodates the refrigerator you have or plan to purchase with adequate clearance.
The range or cooktop affects cabinet placement on either side. Record the width of the range opening and the distance from each side of the opening to the nearest corner or cabinet run.
The dishwasher sits within the base cabinet run and occupies a standard twenty-four inch width opening. Record its location relative to the sink and confirm the cabinet configuration on either side accommodates it cleanly.
The sink location determines where the sink base cabinet sits in the run. Record the rough-in location of the drain and supply lines, which determines which base cabinet width accommodates the existing plumbing without modification.
Step Five: Measure Existing Plumbing and Electrical Locations
Plumbing and electrical locations inside the cabinet run affect which cabinet configurations work without requiring a contractor to relocate utilities. Record the position of every plumbing stub-out and drain location relative to the nearest wall corner and the distance from the floor. Record the position of every electrical outlet and switch on the cabinet walls.
These dimensions become relevant when planning which cabinets sit in front of existing utilities and which configurations require those utilities to be relocated or accommodated within the cabinet layout.
Step Six: Account for Irregularities
No kitchen is perfectly square. Corners are rarely exactly ninety degrees. Floors are rarely perfectly level across the full room. Walls are rarely perfectly plumb from floor to ceiling.
Check every corner of your kitchen with a framing square to identify corners that are out of square. Mark any corner that deviates from ninety degrees and note by how much. This information affects how filler pieces between cabinets are sized and positioned.
Check the floor level across the full length of each cabinet run using a long level. Mark the high point of the floor along each run, as cabinet installation begins at the high point and shimming is used to level from there.
Check wall plumb at multiple points on each wall. A wall that leans toward or away from the cabinet run by more than a quarter inch over the height of the cabinet affects how the cabinet is secured and whether filler strips are needed at the wall.
Step Seven: Create Your Final Measurement Document
Compile every measurement into a clean, clearly labeled document that can be handed to a cabinet designer or submitted to our free design service without requiring additional explanation.
The document should include the full dimension of every wall, every window and doorway interruption on each wall, ceiling height at multiple points, soffit dimensions if applicable, every appliance location and rough-in dimension, every plumbing and electrical location, and any noted irregularities in corner square, floor level, or wall plumb.
This is exactly the information our professional design team uses to create your free 3D kitchen rendering. Submit these measurements through our design service and receive a complete kitchen layout, full-color rendering, and precise cabinet count within a few business days at no charge.